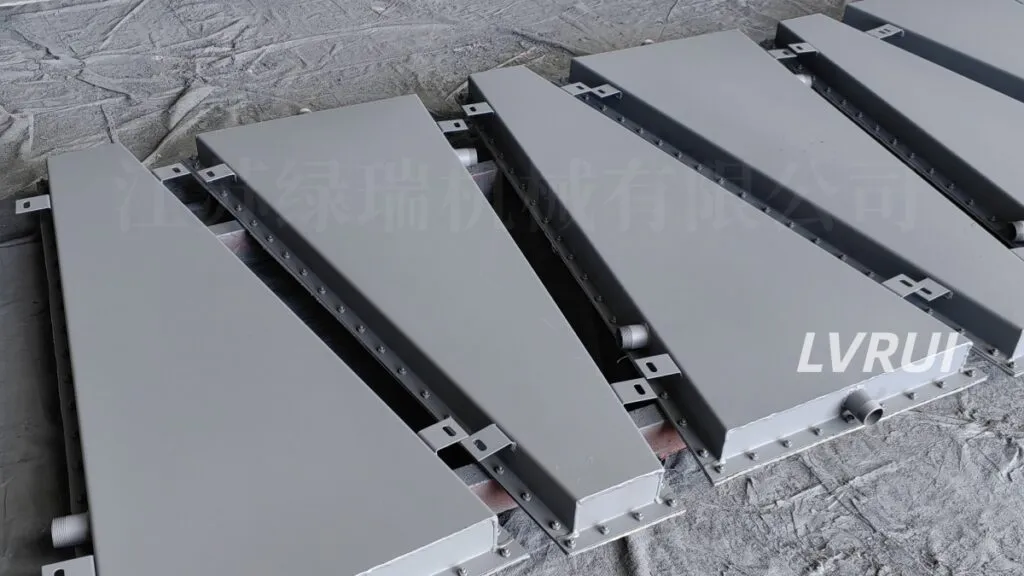
Practical Installation Steps for Reliable Silo Aeration
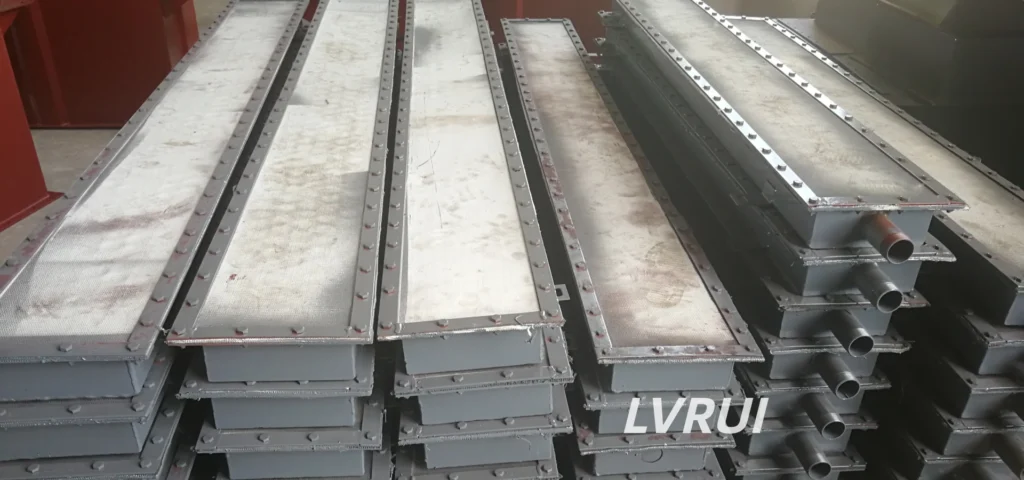
Introduction
Correct cement silo aeration pad installation is critical to achieving stable and evenly distributed airflow around the silo cone or discharge zone. Even when the aeration pads themselves are correctly selected, poor sealing, unsuitable mounting positions, restricted branch piping or uneven air distribution can reduce fluidization performance.
Installation should therefore be considered as part of the complete aeration system rather than as a simple mechanical mounting task. Before installation, the silo structure, pad arrangement, air-supply source, branch-pipe routing and maintenance access should all be confirmed.
This guide focuses specifically on how to install and commission aeration pads in cement silos and hoppers. For general information about working principles, applications and aeration pad selection, see our Aeration Pads for Cement Silos Guide.
1. Check the Installation Design Before Mounting
Before cutting openings or installing the aeration pads, confirm that the approved drawing matches the actual silo or hopper structure.
Check:
- Aeration pad model and dimensions
- Required quantity
- Installation locations
- Mounting orientation
- Air inlet direction
- Main air header location
- Branch pipe routing
For existing silos, inspect the mounting area for deformation, corrosion, old welds, or structural components that may interfere with installation.
Do not change aeration pad positions simply because another location is easier to install. Pad location affects aeration coverage and should follow the approved silo aeration layout design.
2. Prepare the Mounting Area
The mounting surface should be clean, stable, and suitable for the selected aeration pad structure.
Remove cement buildup, rust, scale, old sealing material, paint around welding areas where necessary, and other debris.
If an opening needs to be prepared in the silo cone or hopper wall, mark and cut it according to the approved drawing and actual aeration pad dimensions.
Avoid making the opening larger than necessary.
An oversized or irregular opening can make sealing difficult and may allow powder or air to bypass the intended flow path.
Before final installation, place the aeration pad in position and confirm that it fits correctly.
3. Confirm the Installation Orientation
The porous aeration surface should face the stored powder, while the air chamber and air inlet remain on the air-supply side.
Before fixing the pad, confirm that:
- The active aeration surface faces the material
- The air inlet remains accessible
- The inlet does not interfere with structural steel
- Branch piping can be connected without excessive bending
- Nearby valves, outlets, or inspection ports remain accessible
Incorrect orientation can reduce aeration efficiency and complicate the air piping installation.
4. Install and Secure the Aeration Pad
The mounting method depends on the aeration pad design and the silo structure.
Typical methods include:
- Bolted mounting
- Flanged mounting
- Welded mounting components
- Combined mechanical fixing and sealing
Always follow the approved installation drawing rather than applying one method to every silo.
For bolted installation:
- Position the aeration pad correctly.
- Install the gasket or sealing material where required.
- Insert the fasteners.
- Tighten the bolts gradually in an opposing sequence.
- Check that the housing remains properly aligned.
Avoid fully tightening one side first, as uneven tightening may distort the mounting surface or reduce sealing performance.
For welded mounting structures, control heat carefully to avoid deformation or damage to the porous fabric or other non-metallic components.
Where necessary, protect or remove heat-sensitive components before welding.
5. Seal the Mounting Interface
Air leakage around the mounting interface can significantly reduce useful airflow through the aeration pad.
The supplied air should pass through the porous aeration surface into the powder rather than escaping around the housing or piping connections.
Check the following areas carefully:
- Flanges and gaskets
- Weld seams
- Air inlet connections
- Branch pipe fittings
Use sealing materials compatible with the operating conditions and mounting structure.
Do not apply excessive sealant where it could enter the air chamber or cover the active porous surface.
After mounting, inspect the connection before the silo is filled or returned to normal operation.
6. Connect the Aeration Air Supply and Piping
Aeration pads normally operate with a suitable low-pressure aeration air supply.
The required airflow and pressure depend on material properties, aeration pad permeability and area, piping resistance, the number of pads operating, and the overall silo aeration system design.
A low-pressure blower or other dedicated aeration air source is commonly used. For general guidance on industrial fan and air-system performance, refer to the U.S. Department of Energy Fan Systems resources.
Plant compressed air should not automatically be connected directly to the aeration pads unless the system and components have specifically been designed for that air source.
Excessive pressure does not necessarily improve fluidization and may result in:
- Uneven aeration
- Unnecessary air consumption
- Excessive turbulence
- Higher pressure losses
- Stress on system components
Main Header and Branch Piping
Air is typically distributed from a main header to individual aeration pads through branch lines.
During piping installation:
- Minimize unnecessary pipe length
- Avoid excessive elbows and restrictions
- Support piping independently
- Avoid transferring pipe weight to the pad connection
- Keep branch routing reasonably balanced
- Ensure fittings are airtight
Before commissioning, make sure the air piping is clean and free from moisture, oil, rust, welding residue, and other contaminants that could reduce fabric permeability.
7. Perform an Air Leak Test
Before normal operation, test the aeration system with air where site conditions allow.
Start with a controlled air supply and inspect:
- Mounting joints
- Flanges
- Pipe fittings
- Flexible connections
- Branch lines
Air should pass mainly through the designed porous surface.
If significant air escapes from the mounting interface or piping joints, correct the leakage before commissioning.
Where multiple aeration pads are connected to the same system, compare their airflow response.
Large differences may indicate leakage, pipe restriction, incorrect valve position, or contamination inside the air line.
8. Commission the Aeration Pads Gradually
Aeration pads should be commissioned gradually rather than starting immediately with maximum airflow.
A practical sequence is:
Step 1: Confirm Airflow
Check that each required branch line receives air and that there are no obvious leaks.
Step 2: Start With Controlled Air Supply
Increase the aeration airflow gradually.
Do not assume that maximum air pressure provides the best performance.
Step 3: Observe Material Discharge
Once material is present, observe how the powder moves toward the discharge outlet.
Look for:
- Stable material flow
- Reduced stagnant areas
- Consistent discharge
- Abnormal air escape
- Uneven aeration
Step 4: Adjust the System
If branch adjustment is available, balance the airflow gradually according to actual discharge behavior.
After commissioning, confirm that the aeration system provides stable material flow to the downstream discharge-control and conveying equipment.
9. Common Aeration Pad Installation Mistakes
Excessive Air Pressure
Increasing pressure beyond the actual requirement does not automatically improve powder flow.
The objective is sufficient and stable aeration rather than maximum pressure.
Poor Mounting Sealing
Air escaping around the aeration pad reduces the amount of useful air passing through the porous surface.
Inspect gaskets, mounting surfaces, weld seams, and fittings carefully.
Using an Unsuitable Air Source
The aeration air source should match the system design.
Do not assume that a high-pressure plant compressed-air line is suitable for every aeration pad system.
Contaminated Air Piping
Rust, welding slag, oil, water, or other contamination may reduce the permeability of the aeration surface.
Clean the air lines before commissioning.
Unsupported or Poorly Routed Piping
Branch piping should not place excessive mechanical load on the aeration pad connection.
Provide adequate pipe supports and avoid unnecessary bends.
10. Post-Installation Inspection
After commissioning, periodically inspect the aeration pad mounting, air connections, branch piping, leakage points, and airflow consistency.
If powder discharge later becomes unstable, check the complete air supply path before assuming that the aeration pad itself has failed.
Potential causes may include:
- Air-source problems
- Blocked filters
- Pipe restrictions
- Valve problems
- Leakage
- Reduced fabric permeability
Aeration Pad Installation Checklist
Before returning the silo to normal operation, confirm that:
✓ Correct aeration pad model and location are used
✓ Porous surface faces the stored material
✓ Mounting interface is properly sealed
✓ Mechanical fixing is secure
✓ Air inlet and branch piping are correctly connected
✓ Air lines are clean and airtight
✓ Each required branch receives airflow
✓ Leak testing and gradual commissioning are completed
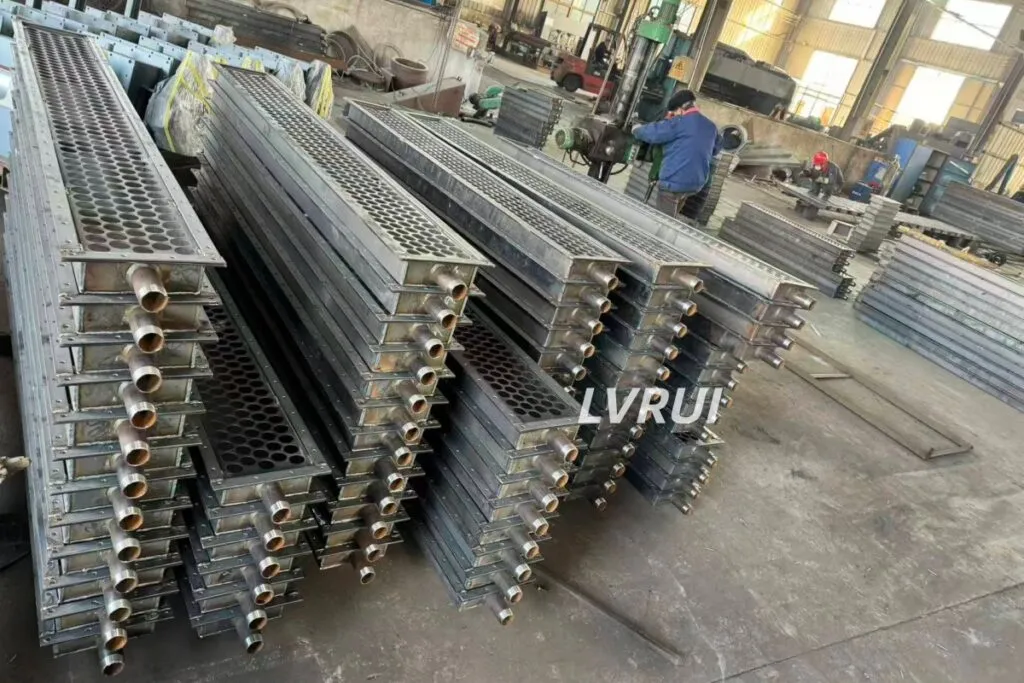
FAQs About Cement Silo Aeration Pad Installation
Where should aeration pads be installed in a cement silo?
Aeration pads are normally installed in selected areas of the silo cone or hopper where airflow is required to assist powder movement toward the discharge outlet.
The exact number, spacing, and location should be determined during the silo aeration layout design rather than during installation.
Should aeration pads use compressed air or a blower?
Many silo aeration systems use a suitable low-pressure blower or dedicated aeration air source.
Plant compressed air should only be used when the aeration system and aeration pads are specifically designed for that supply condition.
What air pressure should be used for cement silo aeration pads?
There is no single pressure value suitable for every installation.
The required pressure and airflow depend on material characteristics, aeration pad permeability, pad area, piping resistance, the number of pads operating, and the complete aeration system design.
Can all aeration pads operate at the same time?
Yes, depending on the system design, but simultaneous operation is not always necessary.
Some silo aeration systems divide the pads into different operating zones and activate them according to discharge requirements.
How can I tell whether an aeration pad is installed correctly?
Check that the pad is securely mounted and sealed, the porous surface faces the powder, the air inlet is unobstructed, the piping is airtight, and airflow passes through the aeration surface without significant leakage.
What should be checked if powder flow is still poor after installation?
Check the complete aeration system, including the air source, filter, branch piping, valves, leakage points, airflow balance, and aeration pad permeability.
Poor powder flow does not necessarily mean that the aeration pad itself is defective.
Need Help With Cement Silo Aeration Pad Installation?
For aeration pad selection or installation review, please provide the silo or hopper dimensions, cone structure, stored material, discharge outlet arrangement, required aeration pad quantity if already specified, and available air supply conditions.
Jiangsu LVRUI Machinery can review these parameters and recommend a suitable aeration pad configuration, connection method, and air supply arrangement for your application.
✓ Aeration pads for cement and dry powder silos
✓ Different pad sizes and air connection configurations
✓ Support for new installations and replacement projects
✓ Compatibility review with silo discharge equipment
Send us your silo drawing and operating requirements for a technical review or quotation.
WhatsApp: +86 18261998937
WeChat: +86 18261998937
Email: info@lvrui-conveyor.com