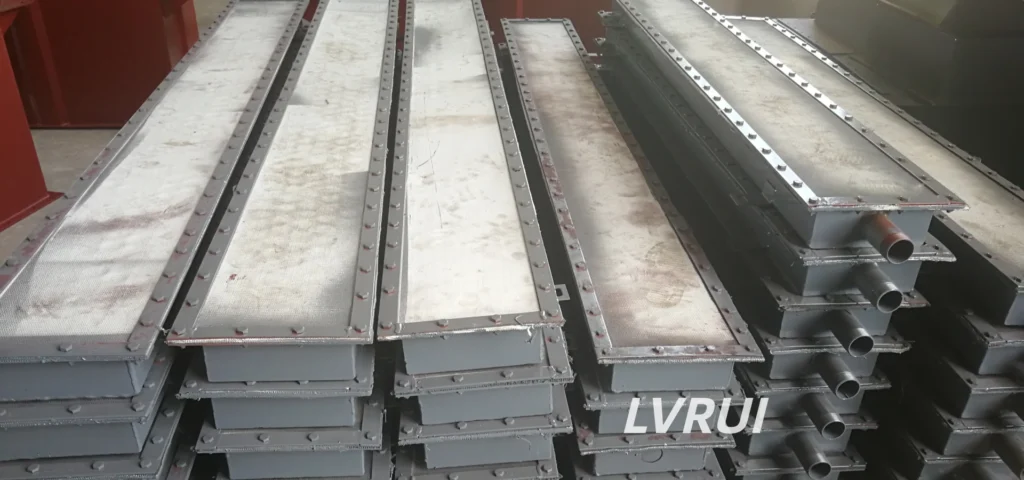
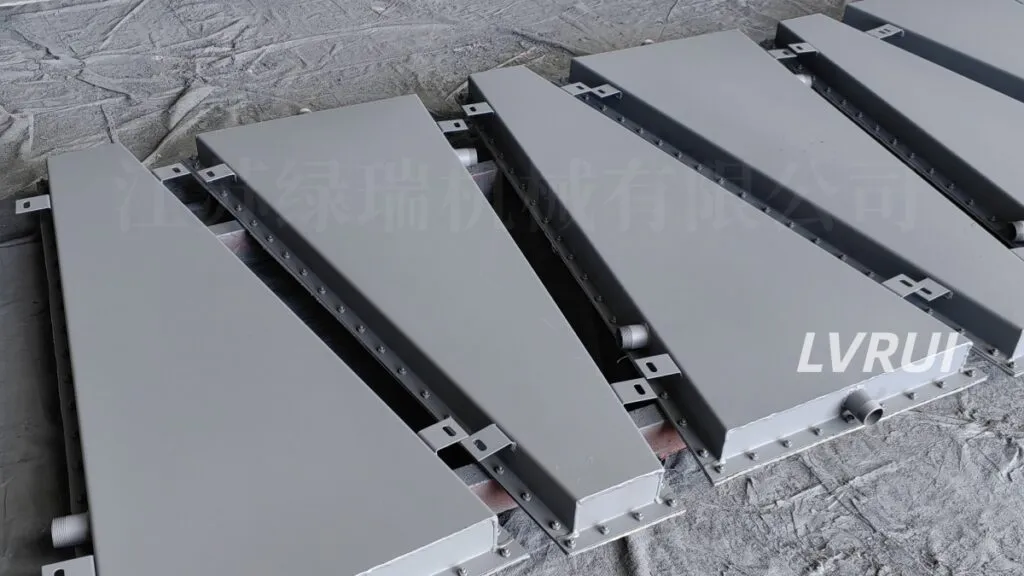
Complete Engineering Guide for Air Slide Conveyor Slope, Airflow Setup, Fabric Installation, Sealing, Alignment, and Commissioning
Panduan Instalasi Air Slide Conveyor untuk Kemiringan, Aliran Udara, Kain Air Slide, Sealing, Alignment, dan Commissioning
Introduction
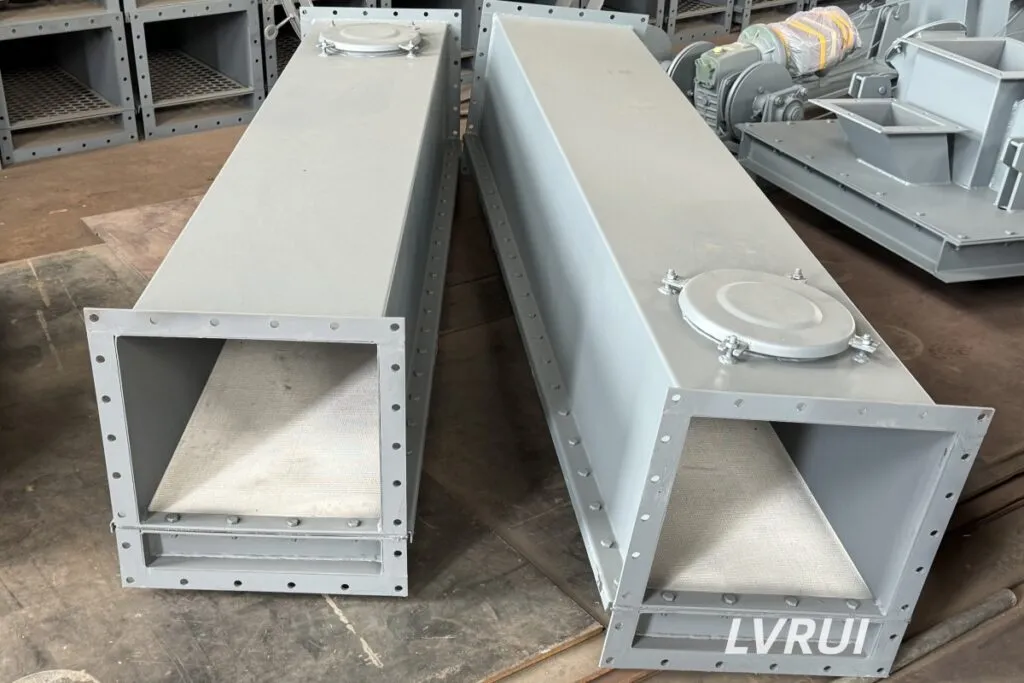
Air slide conveyor installation directly affects powder conveying stability, airflow distribution, energy consumption, blockage risk, and long-term equipment service life. A properly installed air slide conveyor should have the correct slope angle, sealed trough joints, evenly installed air slide fabric, stable low-pressure air supply, accurate equipment alignment, and a commissioning process that verifies material flow before full-load operation.
In cement plants, fly ash terminals, lime powder systems, and mineral powder handling lines, even a small installation error can lead to uneven fluidization, dust leakage, excessive blower energy consumption, or frequent material blockage. This guide explains the key engineering practices for installing an air slide conveyor correctly and keeping the system reliable during continuous operation.
For cement plants and powder handling systems, proper air slide conveyor installation is the first step to achieving stable, dust-free, and energy-efficient conveying performance.
Quick Answer: How Should an Air Slide Conveyor Be Installed?
An air slide conveyor should be installed with a suitable slope, normally around 6°–12° depending on material flowability, conveying distance, and plant layout. The trough must be aligned and sealed properly, the air slide fabric should be evenly tensioned without wrinkles, the lower air chamber must have stable low-pressure air supply, and the system should be commissioned under no-load and loaded conditions before full production.
Air Slide Conveyor Installation
Air slide conveyor installation refers to the engineering process of positioning, aligning, sealing, and configuring an air gravity conveying system to ensure stable material fluidization and efficient powder transport under controlled airflow conditions.
Why Proper Installation Is Critical
Correct installation directly affects:
✔ Conveying stability
✔ Energy consumption
✔ Equipment lifespan
✔ Dust emission control
Poor air slide conveyor installation can cause uneven airflow, material buildup, fabric damage, dust leakage, and frequent system shutdowns.
According to bulk solids handling engineering standards:
👉 Improper installation accounts for nearly 60% of operational failures in air slide systems.
Step-by-Step Air Slide Conveyor Installation Process
Air Slide Conveyor Installation Process Overview
| Installation Step | Key Work | Engineering Purpose |
|---|---|---|
| Foundation Preparation | Check support structure, bearing capacity, installation level, and anchor position. | Prevents vibration, misalignment, structural deformation, and uneven material flow. |
| Slope Angle Setting | Confirm conveyor inclination according to material type, conveying distance, and discharge height. | Ensures gravity-assisted powder conveying and reduces blockage risk. |
| Airflow System Installation | Connect blower, lower air chamber, air ducting, valves, and pressure gauges. | Provides stable low-pressure air for powder fluidization. |
| Air Slide Fabric Installation | Install fabric evenly with proper tension, sealing, and edge fixing. | Ensures uniform air distribution and stable material fluidization. |
| Sealing and Leakage Prevention | Seal flange joints, inspection doors, fabric edges, and air chamber connections. | Reduces air loss, dust leakage, and energy waste. |
| Equipment Alignment Check | Check straightness, inlet/outlet connection, and expansion joints. | Prevents material accumulation, fabric damage, and structural stress. |
| Commissioning and Testing | Run no-load, airflow, leakage, material feeding, and full-load tests. | Confirms stable conveying performance before continuous operation. |
Step 1 – Foundation Preparation
Before installing the air slide system:
- Ensure the supporting structure is level
- Check load-bearing capacity
- Verify alignment with upstream/downstream equipment
Poor foundation alignment can cause:
- Uneven airflow distribution
- Fabric damage
- Structural deformation
Step 2 – Setting the Correct Slope Angle
Proper slope design is essential for gravity-driven conveying.
Recommended slope range:
| Material | Suggested Slope Range | Installation Notes |
|---|---|---|
| Cement Powder | 6°–10° | Stable slope, sealed trough joints, and uniform airflow are important for continuous cement conveying. |
| Fly Ash | 7°–12° | Fine powder requires stable air distribution and careful outlet sealing to prevent dust leakage. |
| Lime Powder | 8°–12° | Moisture control and proper fabric condition should be checked before commissioning. |
| Raw Meal | 6°–10° | Material flow should be verified under actual production conditions. |
| Mineral Powder | 8°–14° | Higher slope may be required depending on bulk density and flowability. |
| Slag Powder | 8°–14° | Abrasiveness and material buildup risk should be considered during installation. |
The final air slide conveyor slope should be confirmed according to material flowability, conveying distance, air pressure, plant layout, and discharge height rather than using one fixed angle for all powder materials.
👉 fluidization technology principles in powder conveying systems
Step 3 – Airflow System Installation
Install the blower and air supply components:
- Connect to lower chamber
- Ensure airtight ducting
- Install pressure gauges
Typical operating pressure:
- 0.3–0.8 bar
Incorrect airflow settings can cause:
- Material surging
- Excessive power consumption
- Incomplete fluidization
Step 4 – Installing Air Slide Fabric
Air slide fabric is the core fluidization element.
Installation requirements:
- Proper tensioning
- Uniform sealing
- Avoid wrinkles or folds
👉 high-permeability air slide fabric solutions
Step 5 – Sealing and Leakage Prevention
Effective sealing prevents:
- Dust leakage
- Air pressure loss
- Environmental contamination
Key sealing points include:
- Fabric edges
- Inspection doors
- Flange joints
👉 industrial dust control regulations for bulk material handling
Step 6 – Equipment Alignment Check
Before commissioning:
- Check straightness of channel
- Verify connection with silos and downstream equipment
- Inspect expansion joints
Misalignment may cause:
- Uneven material flow
- Increased wear
- Structural stress
Step 7 – Commissioning and Testing
Initial startup should include:
- Gradual airflow increase
- Monitoring pressure levels
- Checking material flow uniformity
Commissioning ensures:
- Stable fluidization
- Optimal energy efficiency
- Long equipment lifespan
Common Air Slide Conveyor Installation Mistakes to Avoid
| Installation Mistake | Possible Result | Recommended Correction |
|---|---|---|
| Incorrect slope angle | Slow conveying, material buildup, unstable flow, or blockage. | Recheck the design slope and adjust support height before operation. |
| Wrinkled or loose air slide fabric | Uneven air distribution and poor powder fluidization. | Reinstall or tension the fabric evenly across the trough. |
| Air chamber leakage | Insufficient air pressure, weak fluidization, and higher blower energy consumption. | Seal all air chamber joints, inspection doors, and flange connections. |
| Poor inlet design | Overfeeding, uneven material layer thickness, or local accumulation. | Install a suitable flow control gate or feeder before the conveyor. |
| Blocked or restricted outlet | Back pressure, material accumulation, and unstable discharge. | Ensure downstream equipment can receive material continuously. |
| Wrong blower capacity | Poor conveying performance or unnecessary energy waste. | Match blower airflow and pressure with conveyor length, width, fabric resistance, and material type. |
| No commissioning before full load | Hidden problems appear during continuous production. | Perform no-load, airflow, leakage, material feeding, and full-load tests before normal operation. |
Most air slide conveyor installation problems are caused by incorrect slope, poor fabric installation, air leakage, unstable feeding, blocked discharge, or insufficient commissioning before full-load operation.
Air Slide Conveyor Commissioning Checklist
| Commissioning Item | Check Method | Acceptable Result |
|---|---|---|
| No-Load Running | Start the blower before feeding material. | Air flows evenly without abnormal noise or obvious leakage. |
| Air Leakage Check | Inspect trough joints, inspection doors, air pipes, and flange connections. | No visible air leakage or dust leakage. |
| Fabric Condition Check | Check the air slide fabric through inspection openings. | No wrinkles, tearing, clogging, or loose edges. |
| Material Feeding Test | Feed a small amount of powder before full-load operation. | Material moves smoothly without buildup. |
| Full-Load Test | Gradually increase material flow to design capacity. | Continuous conveying without blockage or unstable discharge. |
| Outlet Discharge Check | Observe downstream equipment and discharge condition. | Material leaves the conveyor smoothly and continuously. |
| Dust Leakage Check | Inspect inlet, outlet, cover joints, and transfer points. | No visible dust escape under normal operation. |
| Blower and Support Check | Check blower temperature, vibration, pressure, and support stability. | No abnormal vibration, overheating, or unstable pressure. |
Role of Installation Quality in Cement Plant Efficiency
Proper installation directly impacts plant performance by:
- Reducing maintenance frequency
- Lowering energy costs
- Preventing system downtime
👉 global cement industry engineering insights and equipment trends
Air Slide Conveyor System Integration with Powder Handling Equipment
An air slide conveyor should not be installed as an isolated device. In a complete powder handling system, the upstream feeding equipment and downstream receiving equipment must be checked together. Proper system integration helps prevent overfeeding, unstable discharge, dust leakage, back pressure, and material blockage during continuous operation.
| Related Equipment | Role in the System | Why It Matters |
|---|---|---|
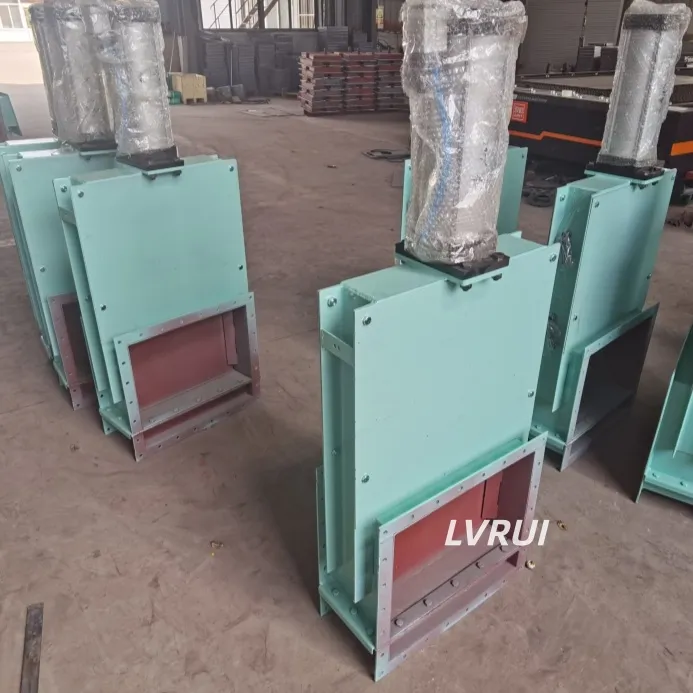
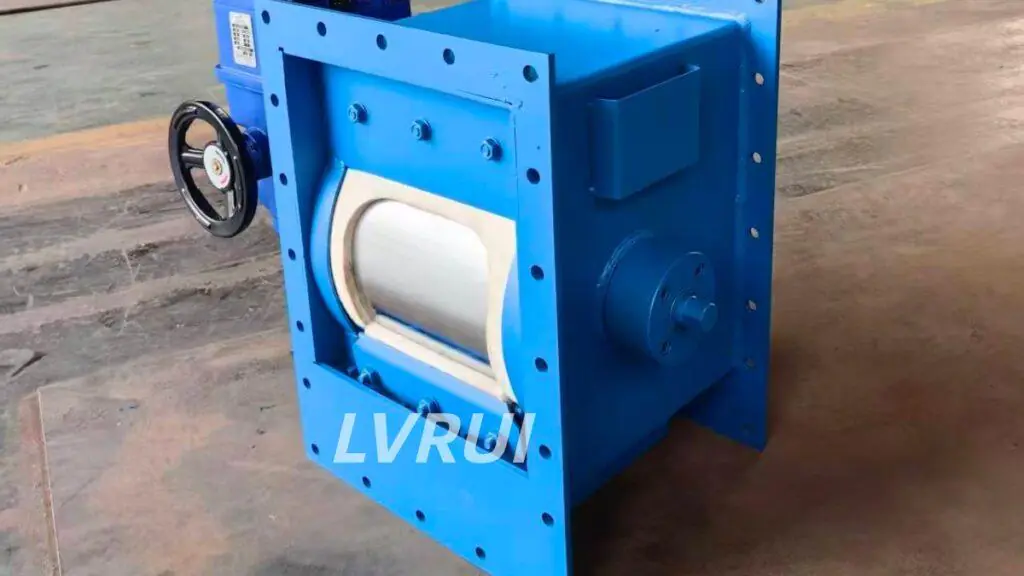
| Flow Control Gate Valve | Controls the feeding rate before the air slide conveyor and prevents sudden overfeeding into the trough. | Stable feeding keeps the material layer thickness uniform and reduces the risk of blockage. |
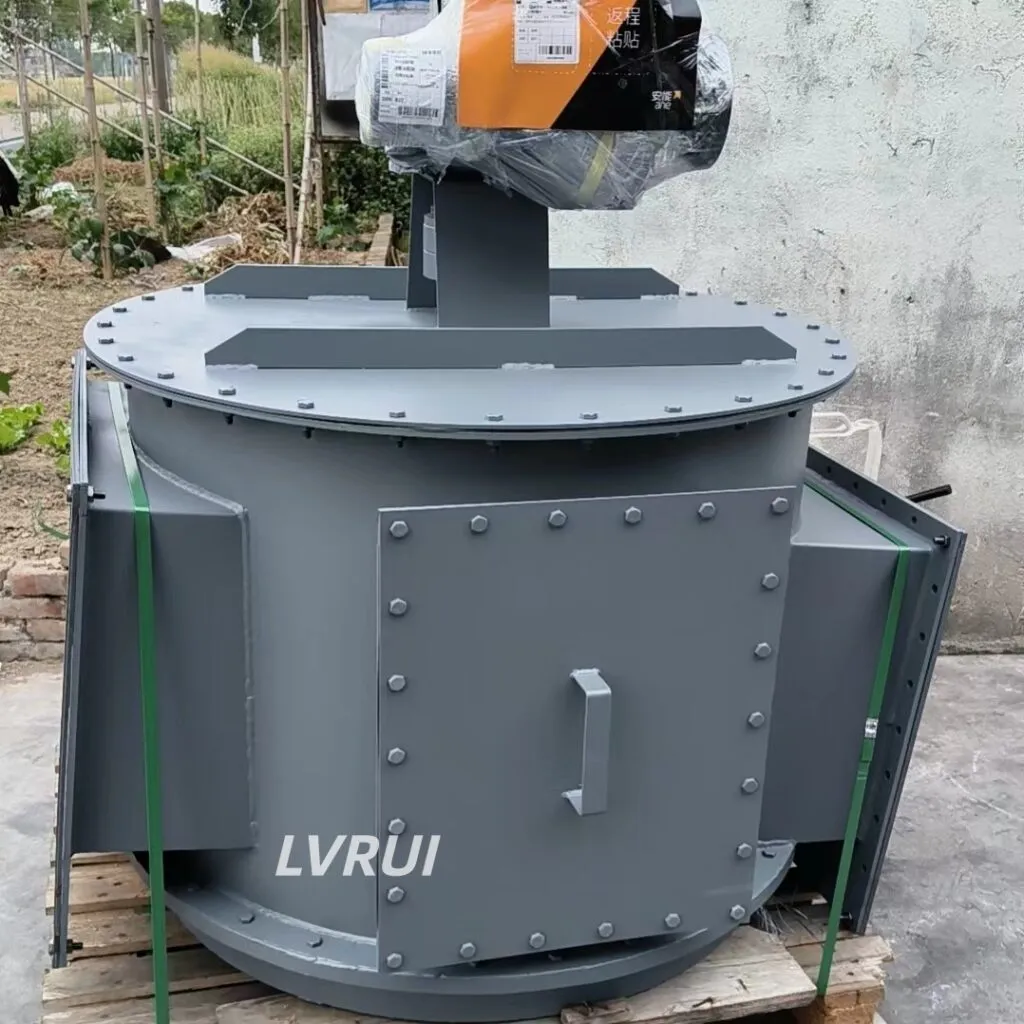
| Diverter Valve | Distributes powder flow to different silos, conveying lines, or loading points. | It allows one conveying system to serve multiple discharge directions or storage points. |
| Aeration Pad | Improves powder discharge from silos before the material enters the conveying system. | Better silo fluidization helps reduce bridging, rat-holing, and unstable feeding. |
| Loading Spouts | Receives conveyed powder for dust-controlled truck, railcar, or ship loading. | A properly matched loading system helps reduce dust emission, spillage, and unstable final discharge. |
| Dust Collection System | Controls dust around transfer points, outlets, and bulk loading areas. | Dust control improves working conditions, reduces material loss, and supports cleaner plant operation. |
| Blower System | Provides the low-pressure air required for powder fluidization inside the air slide conveyor. | Correct airflow and pressure are essential for smooth conveying and energy-efficient operation. |
| Inspection Doors and Sealing Parts | Allow maintenance access and help keep the trough and air chamber sealed. | Good sealing reduces air loss, dust leakage, and conveying instability. |
👉 pneumatic flow control gate valves for powder discharge regulation
FAQs About Air Slide Conveyor Installation
What is the correct slope for air slide conveyor installation?
The correct slope for air slide conveyor installation is usually between 6° and 12° for cement, fly ash, lime powder, and similar dry powders. The final slope should be confirmed according to material flowability, conveying distance, airflow condition, discharge height, and plant layout.
Can an air slide conveyor be installed horizontally?
No. An air slide conveyor normally requires a slight downward slope because it relies on low-pressure air fluidization and gravity-assisted conveying. Horizontal installation may cause slow material flow, material buildup, or blockage.
Why is air slide fabric important in air slide conveyor installation?
Air slide fabric is one of the most important parts of air slide conveyor installation because it controls how low-pressure air enters the material layer. If the fabric is wrinkled, damaged, loose, clogged, or poorly sealed, the powder may not fluidize evenly, which can cause unstable conveying or blockage.
What causes air slide conveyor blockage after installation?
Common causes include incorrect slope, insufficient air pressure, poor fabric installation, air chamber leakage, overfeeding, blocked outlet, wet material, or lack of commissioning before full-load operation.
Should a flow control gate be installed before an air slide conveyor?
Yes. A flow control gate is recommended when stable material feeding is required. It helps control material layer thickness and prevents sudden overfeeding into the air slide trough.
How should the blower be selected for an air slide conveyor?
The blower should be selected according to conveyor length, trough width, air slide fabric resistance, material type, required airflow, and pressure loss. Oversized blowers waste energy, while undersized blowers may cause poor fluidization or blockage.
What should be checked before full-load operation?
Before full-load operation, operators should check slope angle, trough alignment, fabric condition, air chamber sealing, blower airflow, inlet feeding, outlet discharge, dust leakage, and no-load running condition.
Can air slide conveyors be installed outdoors?
Yes. Air slide conveyors can be installed outdoors, but the trough, inspection doors, inlet, outlet, and air pipe connections should be sealed properly to prevent rainwater, moisture, and dust leakage from affecting conveying performance.
Key Takeaways for Air Slide Conveyor Installation
Proper installation is the foundation of reliable air slide conveyor performance. The most important installation factors are correct slope design, stable low-pressure airflow, evenly installed air slide fabric, sealed air chamber joints, accurate trough alignment, smooth inlet and outlet connection, and complete commissioning before full-load operation.
For cement, fly ash, lime powder, and mineral powder systems, installation quality directly affects conveying stability, energy consumption, dust leakage, blockage risk, and equipment service life.
Need Reliable Air Slide Conveyor Installation Support?
Looking for a reliable Air Slide Conveyor installation solution for cement, fly ash, or powder handling systems?
LVRUI provides:
✔ Air Slide Conveyors
✔ Air Slide Fabrics
✔ Flow Control Gates
✔ Diverter Valves
✔ Complete Bulk Material Handling Solutions
📩 Email: info@lvrui-conveyor.com
🌐 Website: https://lvrui-conveyor.com
Indonesian Technical Version – Air Slide Conveyor Installation
Instalasi air slide conveyor yang benar sangat penting untuk menjaga aliran material bubuk tetap stabil, mengurangi risiko penyumbatan, menurunkan konsumsi energi, dan memperpanjang umur peralatan. Dalam sistem conveying untuk semen, fly ash, kapur bubuk, dan mineral powder, beberapa faktor utama harus diperhatikan, termasuk kemiringan conveyor, pemasangan air slide fabric, sealing pada air chamber, koneksi blower, alignment trough, serta proses commissioning sebelum operasi penuh.
Kemiringan air slide conveyor biasanya berada di kisaran 6°–12°, tergantung pada karakteristik material, jarak conveying, tekanan udara, kapasitas sistem, dan layout pabrik. Jika sudut kemiringan terlalu kecil, material dapat bergerak lambat dan menumpuk di dalam trough. Jika pemasangan fabric tidak rata atau terjadi kebocoran udara pada air chamber, proses fluidisasi menjadi tidak stabil dan dapat menyebabkan blockage.
Kesalahan umum dalam instalasi meliputi slope angle yang tidak tepat, distribusi udara yang tidak merata, air slide fabric yang longgar atau berkerut, sealing yang buruk, outlet tersumbat, serta commissioning yang tidak lengkap. Oleh karena itu, pemeriksaan no-load running, air leakage, kondisi fabric, material feeding test, dan full-load test harus dilakukan sebelum sistem digunakan secara terus-menerus.
Dengan instalasi yang benar, air slide conveyor dapat bekerja secara stabil, hemat energi, minim debu, dan sesuai untuk sistem powder conveying di pabrik semen, terminal fly ash, lime powder plant, mineral powder handling line, dan bulk material handling system.